Chroma key technology is a fascinating way to replace solid color backgrounds, especially using green screens. It works by digitally removing chosen colors from a shot, allowing for seamless background integration. Filmmakers often prefer green due to its contrast with skin tones, improving visuals. Proper lighting is essential; softbox lights and LEDs provide even illumination. A distance of 6-10 feet between the subject and screen reduces shadows. This technique has countless creative applications, and more insights await.
Key Takeaways
- Chroma key technology removes a solid color background, typically green, allowing seamless insertion of different visuals in videos.
- Green is preferred due to its contrast with skin tones, reducing blending issues during editing.
- Proper lighting on the green screen prevents shadows and ensures clear separation between the subject and background.
- Subjects should stand 6-10 feet away from the green screen to minimize color spill and achieve a clean key.
- Advanced editing techniques improve visual quality, including garbage matting and precise masking tools for better subject isolation.
What Is Chroma Key Technology and How Does It Work?

Hey! Have you ever heard of chroma key technology? It’s this really cool technique used in film and video that lets filmmakers remove solid colors from a shot, usually using a green screen, so they can add in different backgrounds. Imagine a scene where an actor is standing in front of a beautiful sunset when, in reality, they’re just in a studio!
Here’s how it works: the software looks for specific colors in the image and eliminates them. This is super important for ensuring that everything looks clear and professional. The reason green is often the go-to color? It contrasts nicely with most skin tones, which helps to avoid mistakes where parts of the actor’s body might accidentally get cut out.
To nail the chroma key effect, you need really even lighting. This helps to minimize any shadows on the green screen itself, which can mess things up. Plus, a bit of color spill can happen—like when green bounces onto the actor’s clothes—but with some careful editing in post-production, it can all turn out beautifully. Think about how many movies you’ve seen where characters fly through space or are suddenly at the beach. That’s all thanks to techniques like chroma keying, transforming ordinary shots into amazing visuals!
Choosing a wrinkle-resistant backdrop is also key to maintaining a smooth and professional background that enhances the chroma key effect.
Why Choose a Green Screen for Background Replacement?

Hey, have you ever wondered why so many filmmakers opt for a green screen when they’re replacing backgrounds? It’s really all about the unique properties of that vibrant green color. For one, it reflects light really well, especially in bright scenes. This helps to reduce shadows, which makes it way easier for editors to work their magic in post-production.
Another cool thing about green is that it doesn’t usually clash with human skin tones. This is super helpful because it helps avoid those pesky transparency issues that can pop up during the chroma keying process. Plus, when you use a green backdrop, it creates a clear boundary between the subject and the background, which is crucial for telling a compelling visual story.
Take a look at product photography or big blockbuster films; many pros prefer greenscreens because they allow for smooth integration of CGI elements. Think of all those amazing sci-fi landscapes or fantastical worlds you see on screen! Overall, green screens offer a reliable and flexible way to create stunning visuals without needing elaborate physical sets. Isn’t that fascinating? It really opens up a lot of creative possibilities! Additionally, using non-reflective surfaces in green screens enhances chroma key effects by preventing glare and ensuring a clearer subject-background separation.
Recommended Products
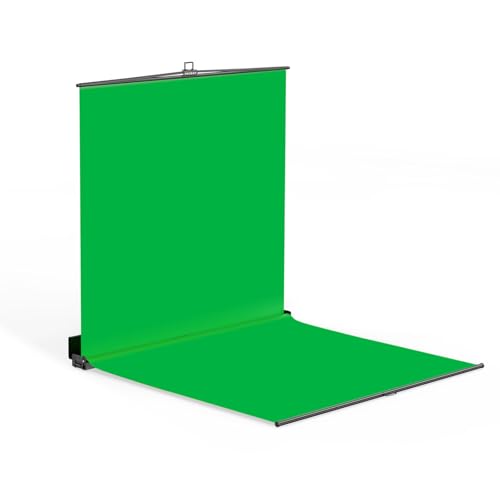
【Full-body Chroma】Professional Chroma Key Screen with Floor Extension 7×7×7 ft – Ideal for Standing Full-Body Keying, Delivering Optimal Camera Chroma Key Performance
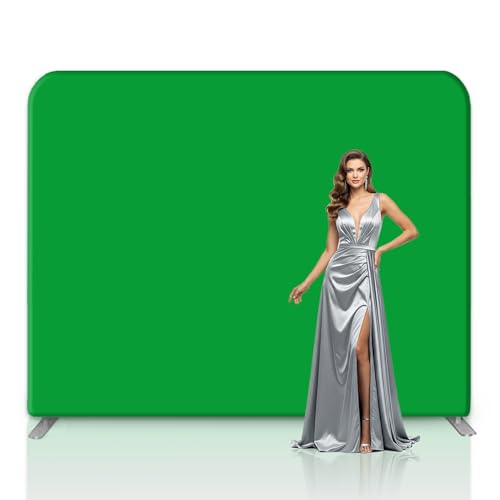
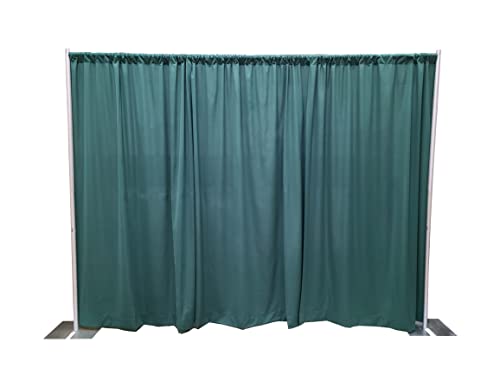
Trade Show Backdrop: Crafted from top-grade 260g polyester fabric for superior durability and quality.Utilizes 1440 DPI dye-sublimation printing technology for crisp, vibrant imager, making them perfect for use as backdrops for trade show booths and pop-up shops

💓FLAT HOOKS TOP CURTAINS: Sold per panel. Come with adjustable plastic pin hooks. 18 hooks for 84" width; 21 hooks for 100"W; 25 hooks for 120"W; 31 hooks for 150"W; 37 hooks for 180"W; 41 hooks for 200"W; 51 hooks for 250"W. Easy to install and slide.
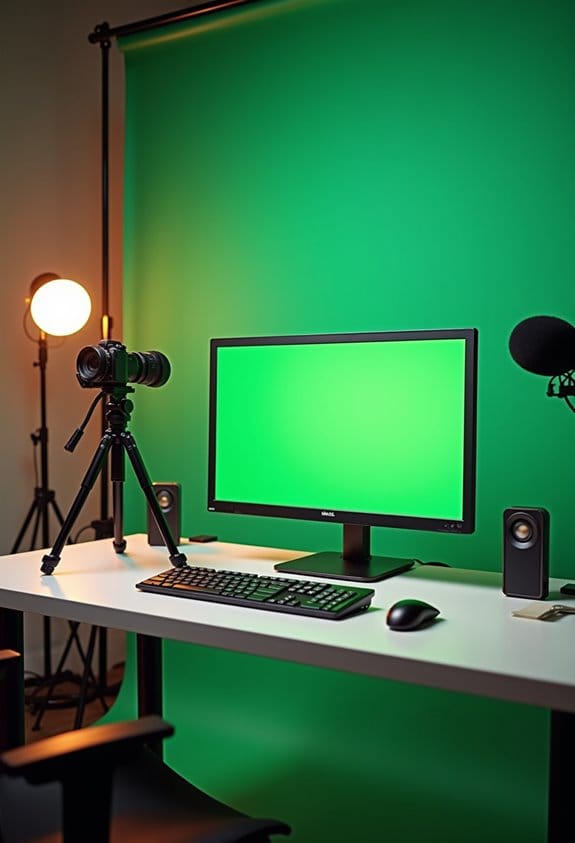
Essential Gear for Your Green Screen Setup

Setting up a green screen can really elevate your video projects, making them look super professional. The first step is getting a quality green or blue backdrop. It’s essential that the backdrop is wrinkle-free and evenly covered—think of it like a clean canvas. If it’s uneven, it can throw off the whole chroma key process!
Once you’ve got your backdrop sorted, lighting is the next big component. I recommend using softbox lights or LED panels to create soft, even lighting. This helps minimize shadows and color spill, which can be a headache when you’re editing. Picture this: if you’ve got harsh shadows on your subject, it makes it a lot harder to key them out later.
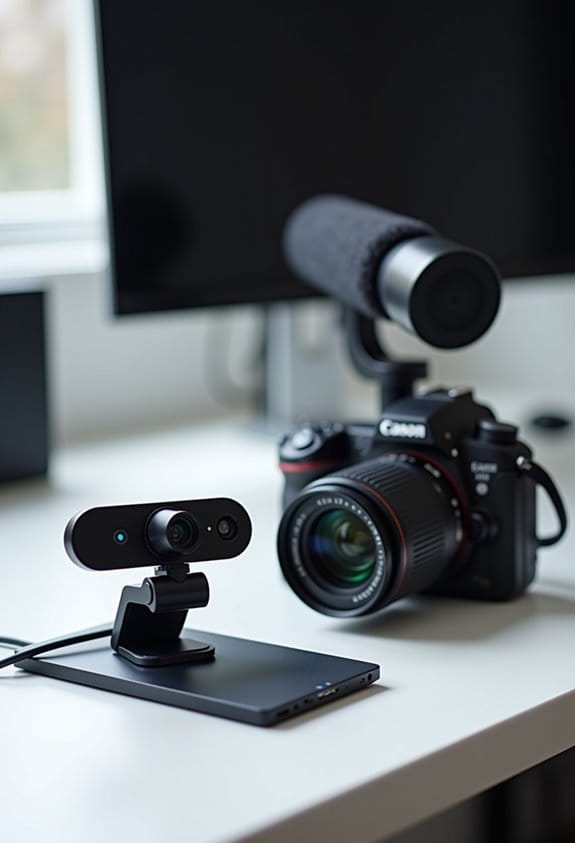
Don’t forget about your camera! Aim for one with at least 4:2:2 color sampling. This means your camera captures more detail, resulting in a cleaner look when you cut out the background in post-production. Plus, stability is key; using a tripod or stabilizer helps keep your shots steady, which is crucial for avoiding any shaky footage.
Finally, invest in some good chroma key software. Programs like Adobe Premiere Pro and After Effects are fantastic for refining the edges and ensuring everything looks seamless. With these tools in hand, you’re well on your way to creating stunning visuals. Now, let’s talk about how to ensure you’re getting the best lighting for your setup!
Choosing cameras with higher resolution quality can also improve the clarity of your subject, making the chroma key effect cleaner and more precise.
Recommended Products

Led video lighting kit with app control 2020 upgrade video lighting kit app control model Color temperature from 2300k-6800k the new addition of digital display screen 10%-100% high brightness

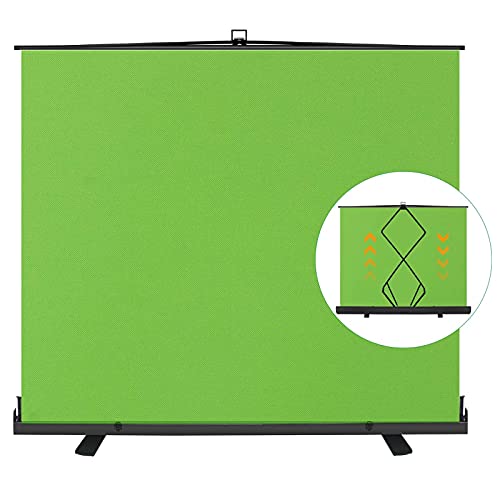
Professional Chroma Key Results: Achieve clean, seamless subject isolation for photo and video editing. Our vibrant, uniform green screen backdrop ensures easy and precise background removal in post-production software.
【Fast Pull-Up Setup, No Assembly Required】 The auto-locking pull-up design makes setup quick and easy, while reinforced double-point support frames help keep the backdrop upright and stable during use. No clamps, no extra stand, and no complicated assembly—just open the package, pull up the screen, and start recording, streaming, or joining meetings.
Lighting Tips for a Stunning Green Screen
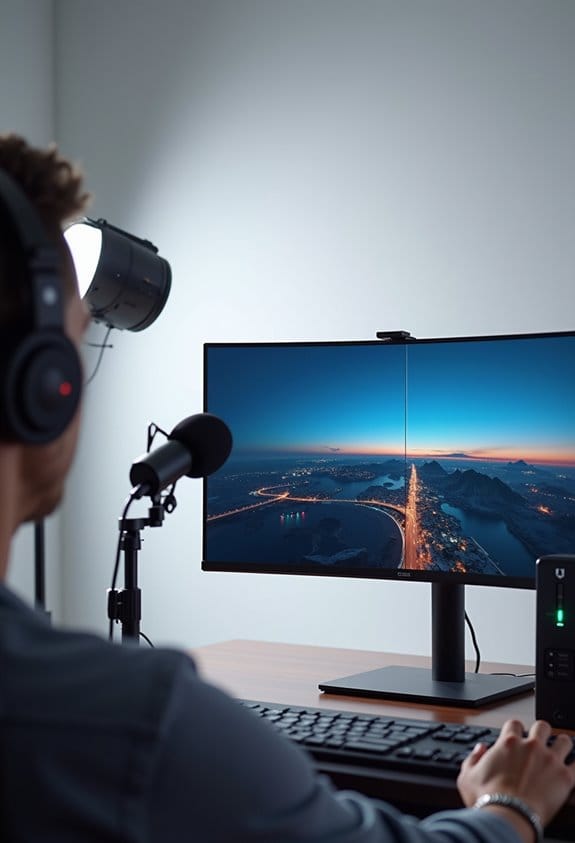
Hey there! So, you’re interested in how lighting can really elevate your green screen setup to a whole new level, right? Well, let me tell you – proper lighting is absolutely crucial! First things first, make sure that your green screen is lit evenly. If there are any shadows creeping in, they can really mess up your video. Aim for a brightness level of around 40-45 IRE, which essentially means you want a nice, even glow without any awkward dark spots.
Now, let’s talk about distance. Try to keep your subject about 6-10 feet away from the green screen. This helps to reduce color spill, which is when the green reflects onto your subject and causes all kinds of problems. A great tip is to use soft, diffused lights instead of harsh ones, which can create those annoying hot spots on your screen. And don’t forget the magic of backlighting! It adds depth and detail to your subject, which makes the keying process after shooting a lot smoother.
Oh, and if you have access to a waveform monitor, use it while filming to keep an eye on your exposure and color levels. Trust me, these little steps will significantly boost your final product and save you a ton of headaches in post-production. With these lighting techniques in place, you’ll be well on your way to impressing your viewers. Ready to tackle the next steps in the filming process? Let’s do it! Using LED panels with adjustable color temperature can help you fine-tune the lighting environment to achieve the perfect green screen effect.
Recommended Products

【MAKES OBJECTS APPEAR CLEARER】 LED Video Light creates stable light resource and even illuminance this 300W light could offer 13100lux@1m (3.3 ft) with hyper reflector, 48200lux@1m (3.3ft) without the reflector, guarantee high light brightness. It can make objects appear the most realistic way

✅【High-Power RGB LED Video Light Kit】This 3-pack GVM 1500D RGB LED Video Light kit delivers 75W high brightness with 1128 LED beads, reaching [email protected] / 11000lux@1m. Ideal for portrait photography, wedding videos, product shooting, green screen filming, live streaming, YouTube studio, music videos, and professional broadcasting, it ensures true-to-life and natural colors with a lifespan of over 300,000 hours.
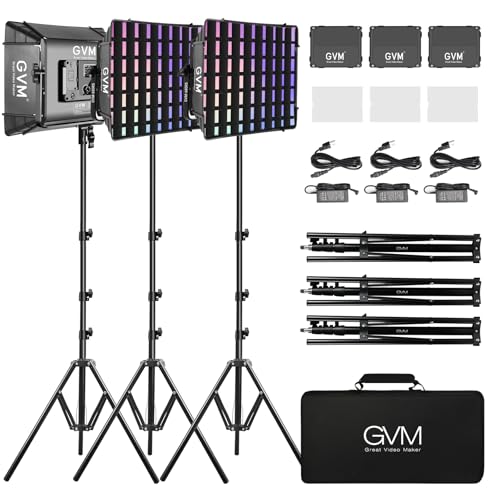
【RGB SUPPORT MASTER AND SLAVE CONTROL MODE】The light panels could set one light as the master mode and other GVM lights as Slave mode, which you could easily control all lights with the master one.
Top 5 Mistakes to Avoid When Using a Green Screen
You know, using a green screen can really elevate your video projects, but there are a few mistakes you’ll want to steer clear of to avoid a headache later on. First off, let’s talk about what you wear—if you show up draped in green, you might just blend right into the backdrop! Stick to colors like blue or neutral tones instead; that way, you’ll stand out and look great on camera.
Lighting is another biggie. Make sure your screen is evenly lit; otherwise, those pesky shadows can make it tough for the software to do its job when trying to replace the background. Even a simple setup with two softbox lights can do wonders! And don’t forget to step back from the green screen. Keeping a bit of distance helps minimize color spill that can give your skin a weird green hue—trust me, no one wants that.
Now, about your camera—using a higher quality one can really help. Aim for footage that’s well-lit because if your shot is too dark, the keying process can get messy. Lastly, take a quick peek at your backdrop for any wrinkles or bumps; even those can mess up your final footage and leave you with rough edges around your subject. For best results, consider using a wrinkle-resistant material to maintain a smooth and consistent background.
Recommended Products
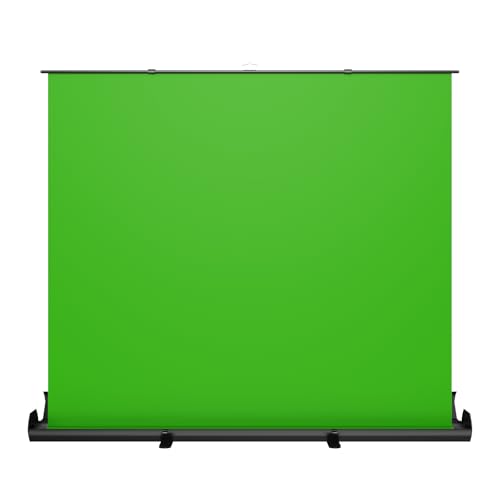
【Premium Fabric】Professional wrinkle-resistant Green screen optimized for camera chroma keying making figure background-matting simple & convenient, also making color reduction more real.

Premium Fabric: Made of professional wrinkle-resistant polyester fabric, waterproof and easy wipe-clean maintenance. Provide a smooth, non-reflective surface. Suitable for photography and video

High-Quality Green Screen Fabric – Our premium green screen is made from wrinkle-resistant, smooth fabric, providing a perfect backdrop for video production, live streaming, photography, and content creation. Ideal for green screen streaming, video editing, and green screen background setups.
How to Green Screen: Chroma Keying Techniques in Post-Production?
When you’re getting into video editing, you’ll definitely want to explore chroma keying—it’s such a cool technique! Essentially, it involves removing a green screen background so you can place your subject in a completely different setting. For example, imagine swapping out that boring room background for a stunning beach scene!
Once you’ve got your background removed, you want to make sure your subject really blends in with the new environment. This often means adjusting the color and saturation. It’s all about matching those colors to ensure everything looks natural. A neat trick is to use a garbage matte; it’s super helpful for isolating your subject and tidying up any edges that look rough.
If you’re feeling a bit more adventurous, tools like Cookie Cutter FX and Bézier Mask FX can help you mask things with precision. Plus, once your subject and background are in place, consider doing some secondary color correction just on the background. This step ensures that the colors vibe well together, creating a balanced scene. And don’t forget edge blur! A little softening around the edges can really help everything come together seamlessly.
All these little details add up to make your videos pop. With some practice, you’ll be amazed at how professional your edits can look! What’s next on your editing journey? Let’s chat about adding effects or transitions! Using a teleprompter can also enhance your recording experience by allowing you to maintain eye contact while delivering flawless lines.
Recommended Products

【 Adjustable Backdrop Stand 】The Backdrop Stand Heavy Duty is expandable from 3.3 ft to 8.9 ft in height. The stands connect to a telescopic crossbar that can be set up between 7.7 ft to 20 ft, bringing enormous versatility and flexibility

【 Adjustable Backdrop Stand 】The Backdrop Stand Heavy Duty is expandable from 4.8 ft to 10 ft in height. The stands connect to a telescopic crossbar that can be set up between 4 ft to 10 ft, bringing enormous versatility and flexibility
Portable pipe and drape kit contains all the hardware and fabric needed
Creative Uses for Chroma Keying in Your Projects
Hey there! Have you ever thought about the creative possibilities of chroma keying in video projects? It’s such a cool technique! Basically, it lets filmmakers swap out backgrounds, so they can transport viewers into all sorts of amazing worlds—think of a scene that starts in a cozy living room and suddenly shifts to a fantastical landscape.
Advertisers really love using green screens too. Picture this: a sleek new gadget is showcased in a vibrant cityscape rather than a plain studio. This kind of backdrop grabs attention and gives the product more flair.
Music videos are another fun space for chroma keying. Imagine an artist performing live while animated graphics swirl around them, adding energy and excitement to the performance. It’s like watching a visual story unfold right alongside the music!
And it’s not just for entertainment. In educational videos, instructors can use a green screen to layer engaging visuals or diagrams behind them, making complex topics easier to understand and more enjoyable.
Even video game developers tap into this technology to enhance animations and make gameplay feel more immersive. It truly gives creators a lot of room to play with ideas and styles. So, whether you’re in filmmaking, advertising, or education, chroma keying opens up a world of creativity you wouldn’t want to miss! Using a double sided chromakey backdrop can enhance versatility and ease of setup in your green screen projects.
Frequently Asked Questions
What Is Chroma Key and How Does It Work?
Chroma keying techniques involve removing a specific color background through color selection methods, enabling new imagery integration. Keying software examples, such as Adobe After Effects or Final Cut Pro, facilitate this digital compositing process effectively.
How Does a Green Screen Actually Work?
A green screen functions through proper lighting techniques, allowing for even illumination that minimizes shadows. Appropriate camera settings and precise color matching guarantee accurate chroma keying, enabling seamless background replacement during post-production editing.
What Is the Difference Between Chroma Key and Green Screen?
Chroma keying basics involve color replacement techniques, enabling background changes in video production applications. While chroma key refers to the overall technology, green screens are specific backdrops utilized to achieve this dynamic visual effect.
How Does a Green Screen Know What’s Behind It?
A green screen knows what’s behind it through color detection, where specialized software isolates the bright green hue. Effective lighting effects enhance the process, enabling seamless background replacement in post-production without unwanted artifacts or shadows.